Recently Chris and I were saying how fantastic our polytunnel has been, it’s a few years old now, is as good as new, and allows us to grow a range of crops better than would be possible without it. In particular, tomatoes, which we both love. Any polytunnel or unheated greenhouse are used in pretty much the same way for tomatoes, here I wanted to offer some tips. You can grow tomatoes outside, and I used to with ease down south, but in cooler areas like our Yorkshire garden, cover really helps with cropping and to shield them from the disease, blight, which weakens and kills tomato plants.
1) Grow seedlings inside in early spring
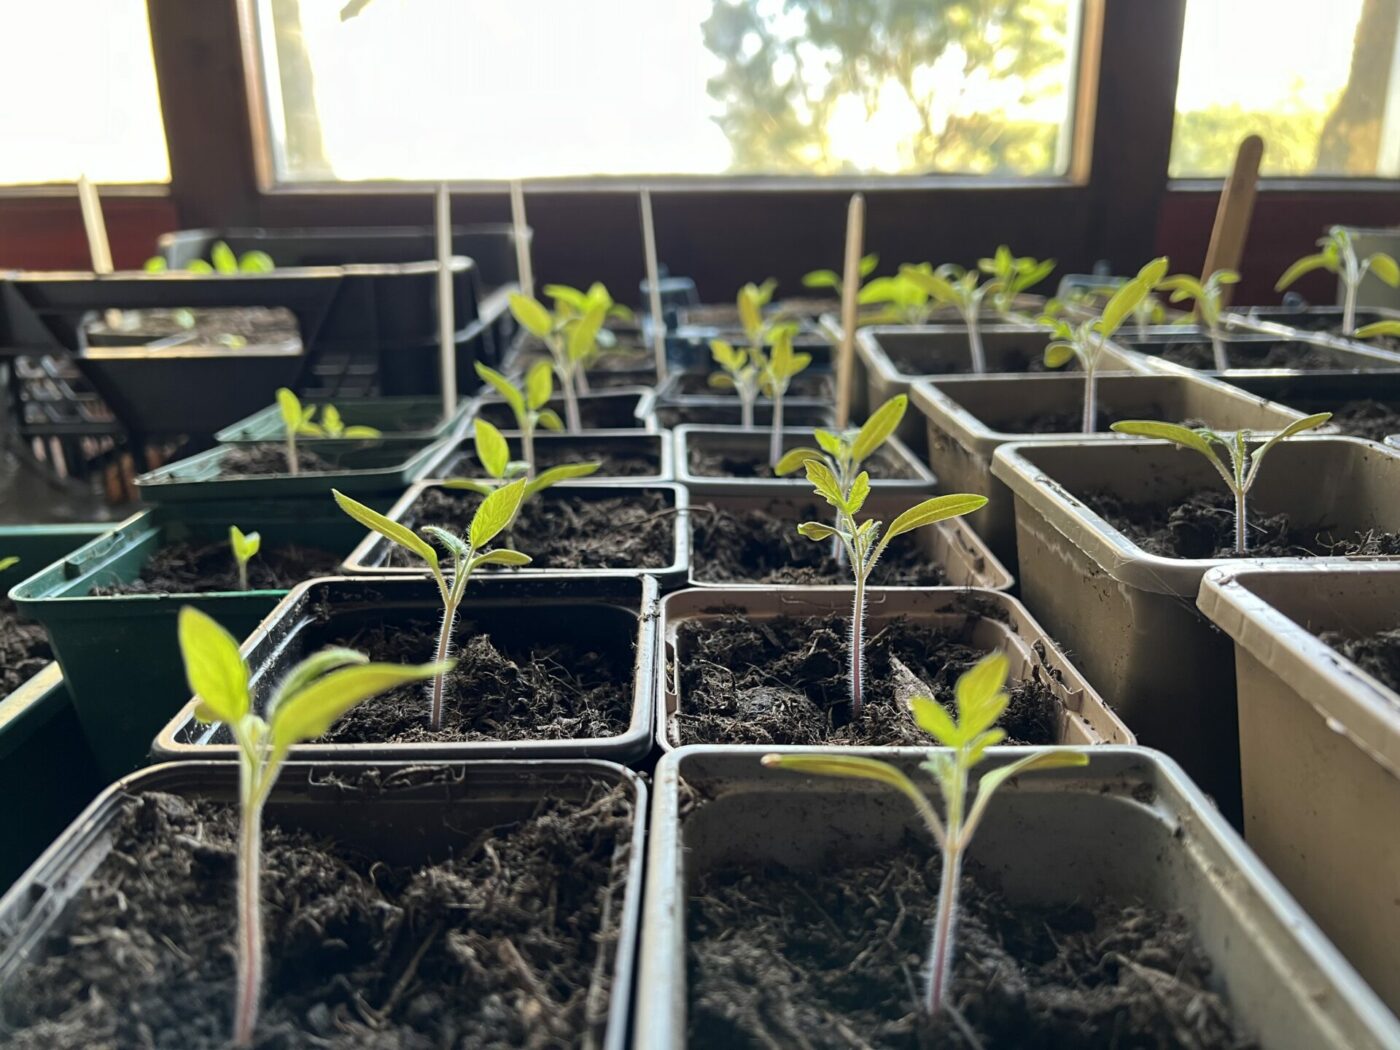
Tomatoes originate from warm climates and cannot tolerate very cold temperatures for long, their tissue will be damaged instantly in frost of below freezing, usually killing the plant. To germinate them it’s best to grow them on your sunniest windowsill. A heat mat will speed up germination but usually a normal room with central heating is enough, covering the seed trays or pots until leaves emerge.
Here in Yorkshire, I tend to sow them from mid-March to early April. I’m leaning toward sowing them on the 1st of April, as I did this year, because this gives them a longer amount of daylight from a young age. Reducing the risk of etiolation (when seedlings stretch for light) and warmer temperatures overall. It can delay fruiting but only marginally in my experience. If you live down south you can go for an earlier sowing date. Plant them into bigger pots of compost as they grow. I usually sow the seeds into 7cm pots and then move them into 2L pots when they have 4 true leaves.
2) Move them to the polytunnel when risk of hard frost is over
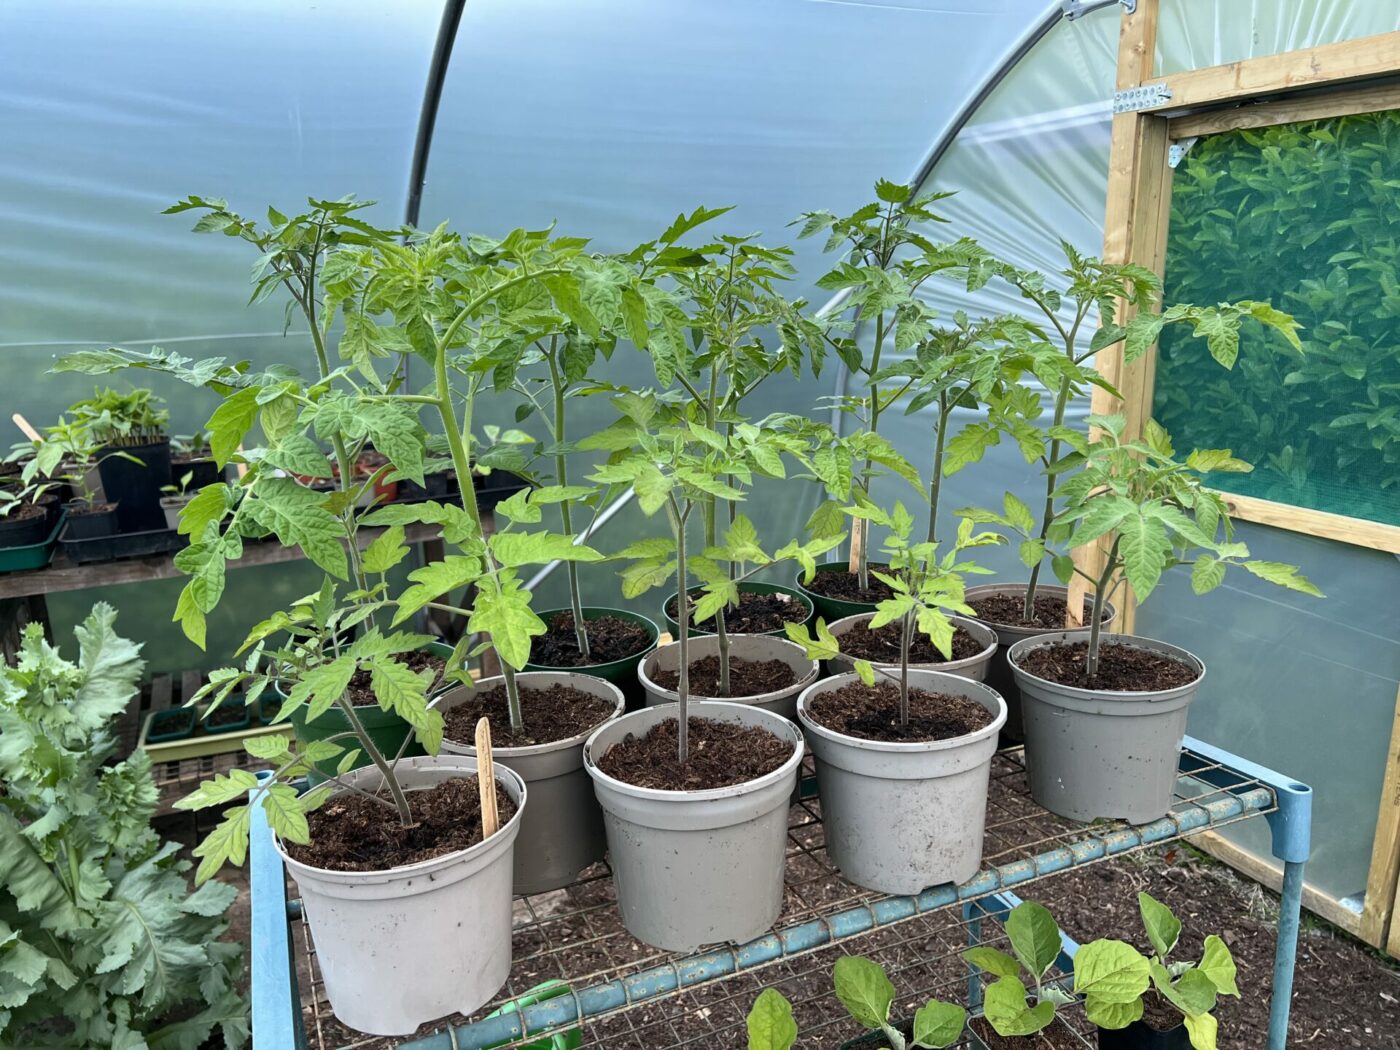
Frost and cold temperatures can penetrate unheated greenhouses and polytunnels easily, so only move your tomatoes from the house to the polytunnel when you are certain frosts are over. In Yorkshire, that tends to be some time in May and I keep an eye on the night time temperatures constantly in this month. If night temperatures drop below 5C, there is a risk of frost and damage to tomatoes in polytunnels.
The solution is to either nip them back into the house for the night if it’s easy, or you can cover them in layers of horticultural fleece overnight to protect them. This works for me if they are in the middle of the polytunnel (as above) and securely covered.
3) Prepare your soil
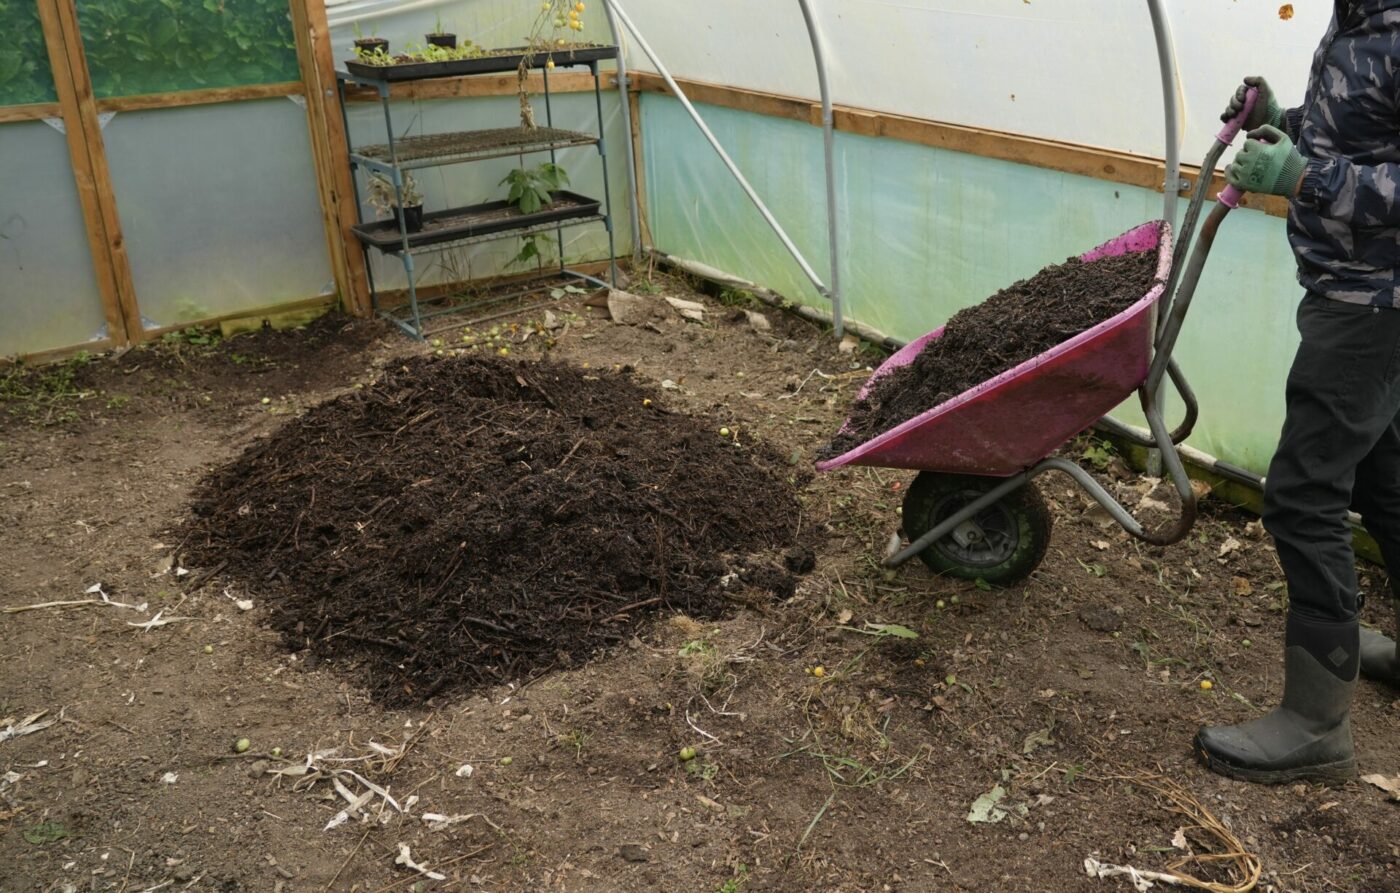
While the tomatoes are acclimatising to life in the polytunnel and you’re waiting for frosts to 100% be over. Prepare the ground by adding a layer of compost about 3-5cm deep depending on your soil. Add it all over to increase nutrients throughout.
4) Plant in the ground
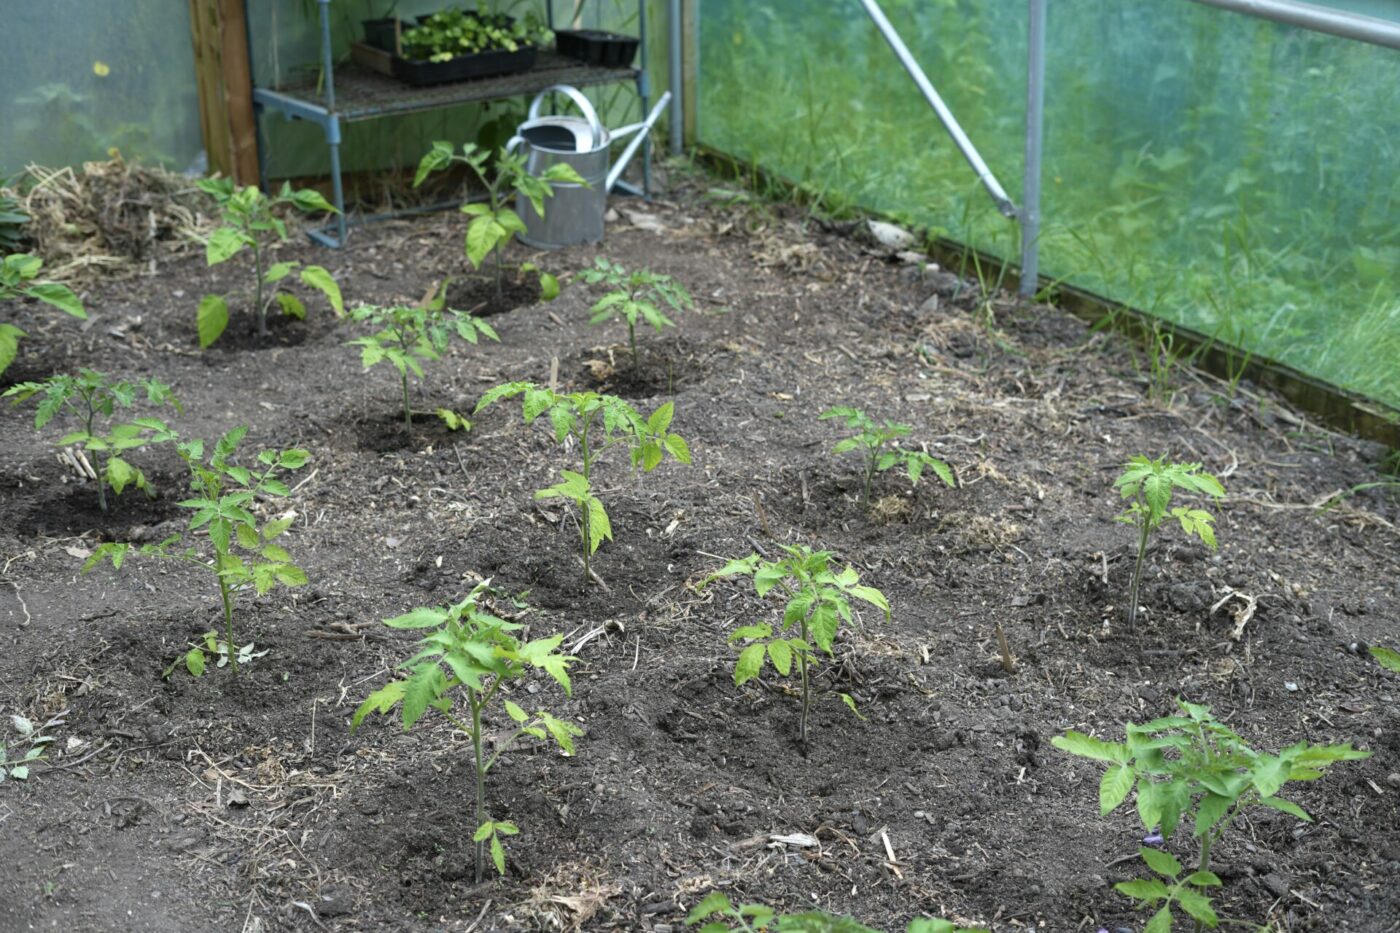
In a polytunnel or greenhouse it is always going to be better to plant directly into the ground rather than pots or grow bags because it gives the plants all the space their roots need to stretch out. They can also grow down into the soil to reach deeper water making them more resistant to drying out.
You can see in the above photo, I plant roughly 50cm apart and create a little saucer of soil around each plant. This allows me to pour a lot of water into the soil at the roots of each plant minimising wastage from it running across the surface, rather than watering the entire area. I then only ever water deeply into this saucer rather than watering all of the ground. It encourages downward root growth. I water once a week except in the exceptionally hot summer weeks, such as during a heatwave
5) Install cross beams and support with 4mm twine
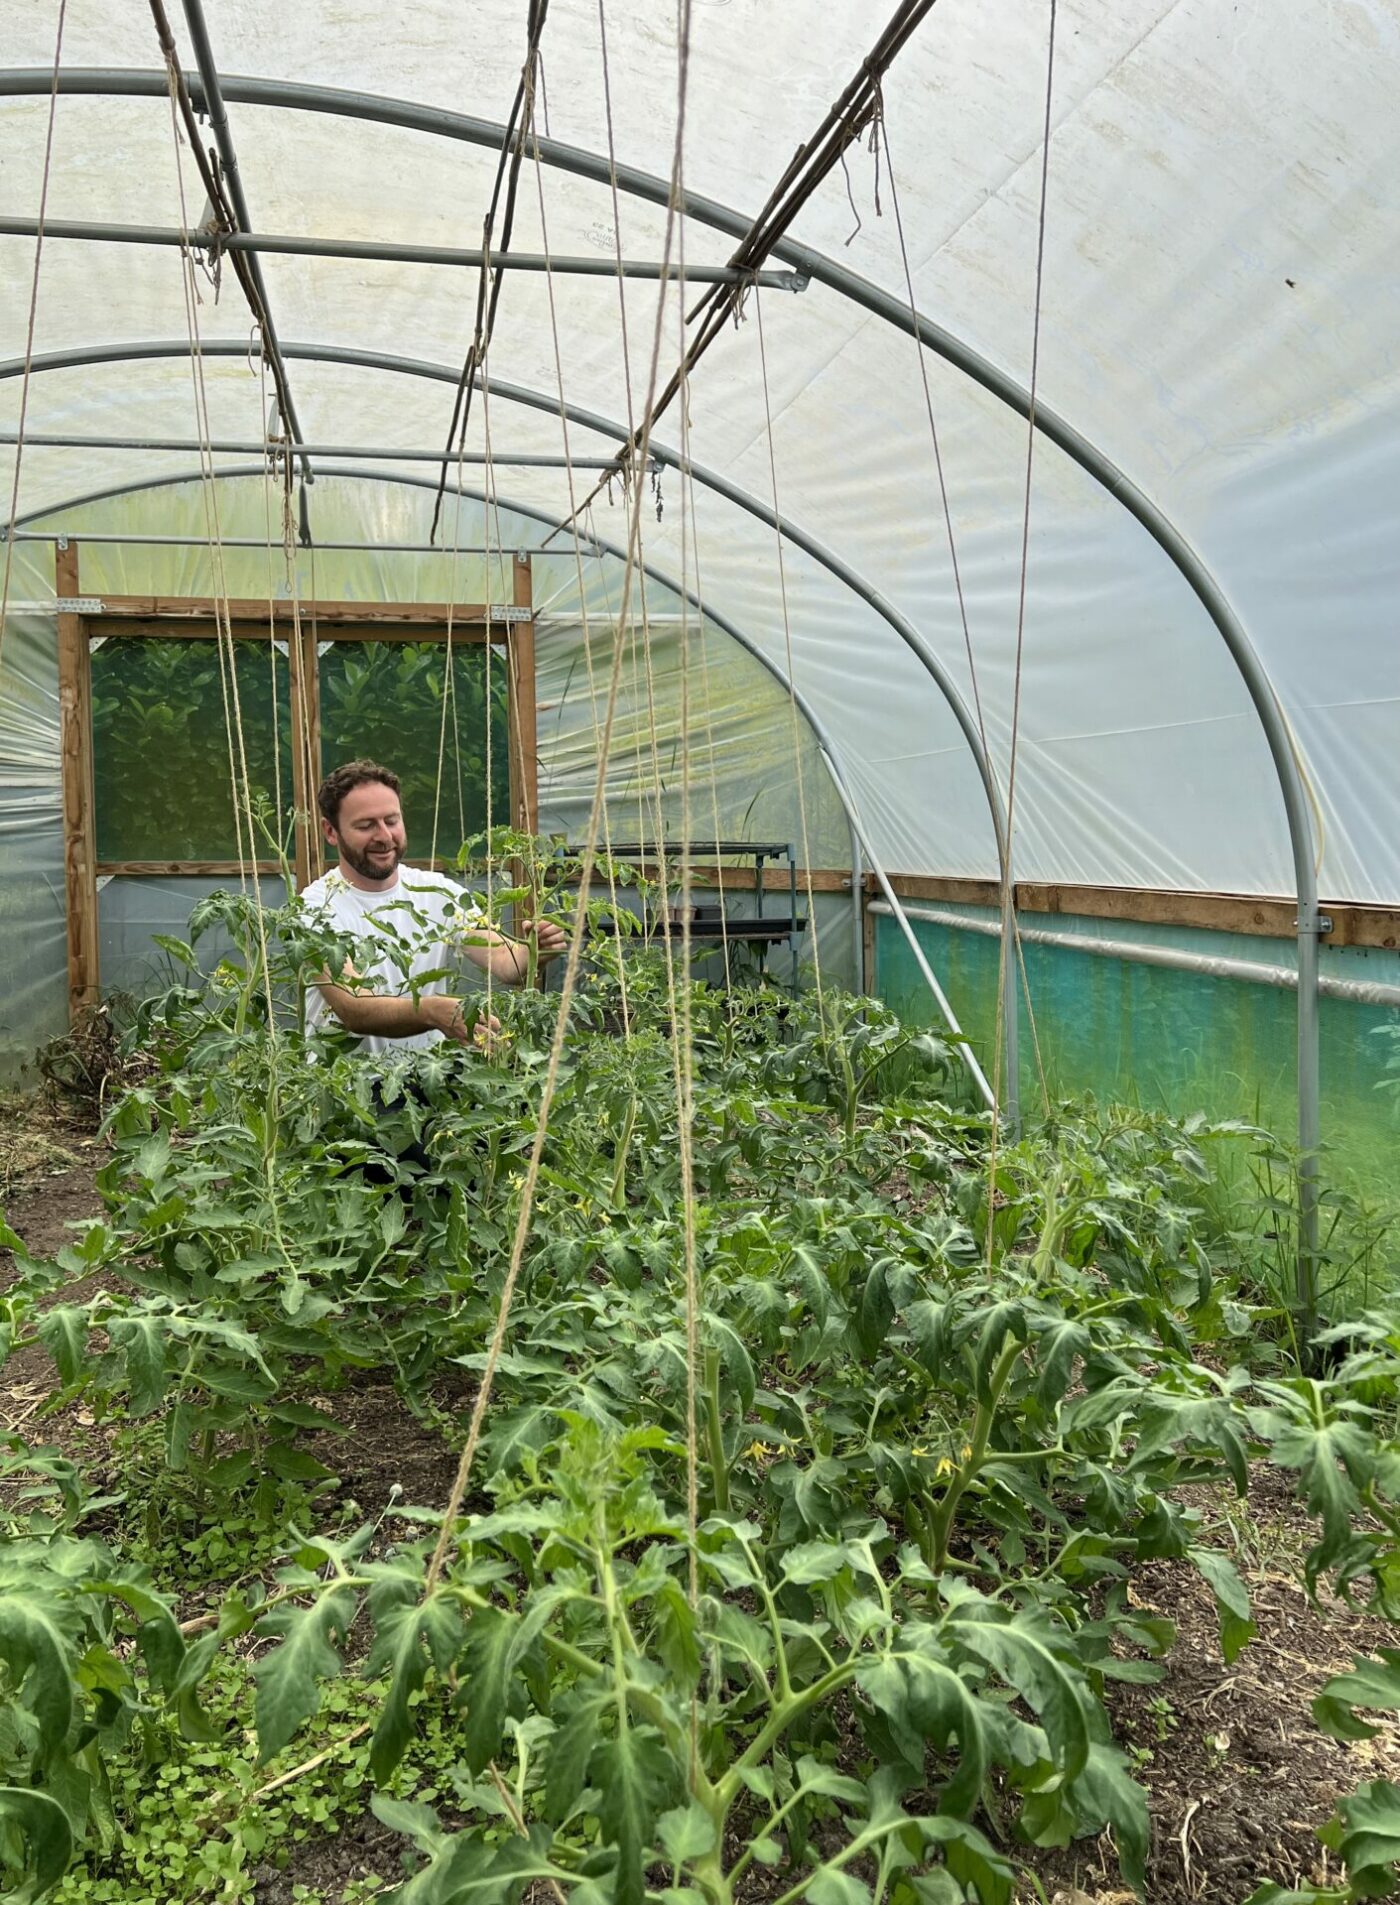
Across the metal beams I’ve placed strong bamboo canes to form three clear rows along the length of the polytunnel. I planted the tomatoes in rows to match the beams. From these I tie 4mm jute twine and tie the other end loosely to the bottom of the tomato stem. Then, twirl the twine around the tomato stem being careful not to snap leaves or flower stems. This really works to keep the plant upright and supported as it becomes top heavy quickly. You must repeat this constantly through the growing season because tomatoes don’t naturally cling, they scramble.
7) Pinch side shoots
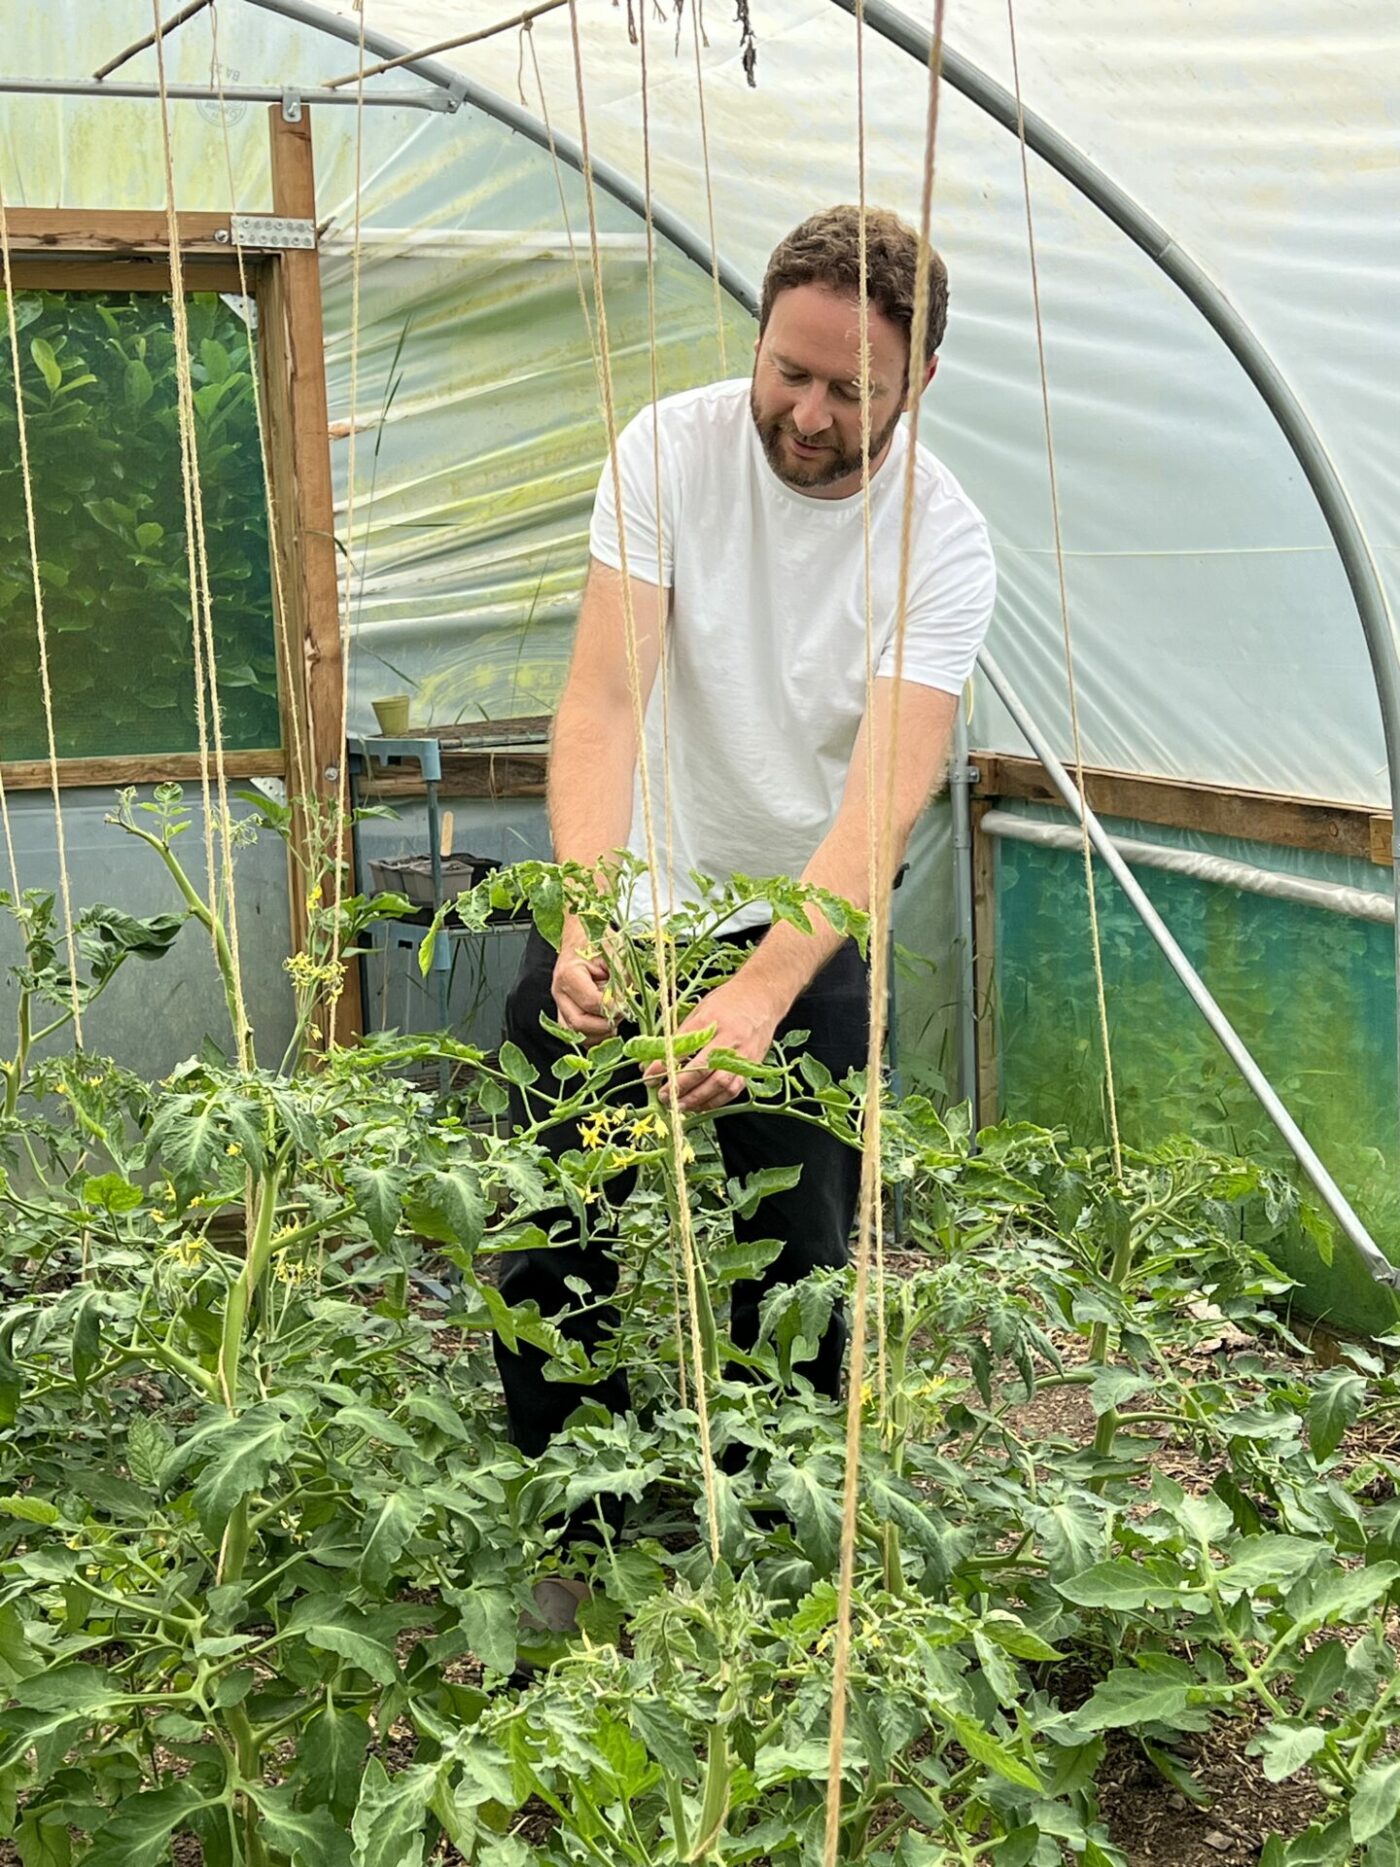
Bush varieties of tomato don’t need pinching out but vine tomatoes, which most are, do. The difference is that vine types grow upward with one main stem, while bushes do what they say on the tin, remaining short but bushy. Your seed packet will tell you which your tomatoes are.
I only grow vine tomatoes these days for ease of growing and picking, and because I find the bush types are more susceptible to slugs and snail damage. Vine tomatoes will still want to grow side branches but you want them to grow upward putting energy into fruit which grow off the stem. When you see side shoots, pinch them off with your thumb and fingers. Be careful not to pinch off the top shoot and if unsure, wait until the top shoots grow more to tell them apart.
7) Fertilise with tomato feed during visible growth
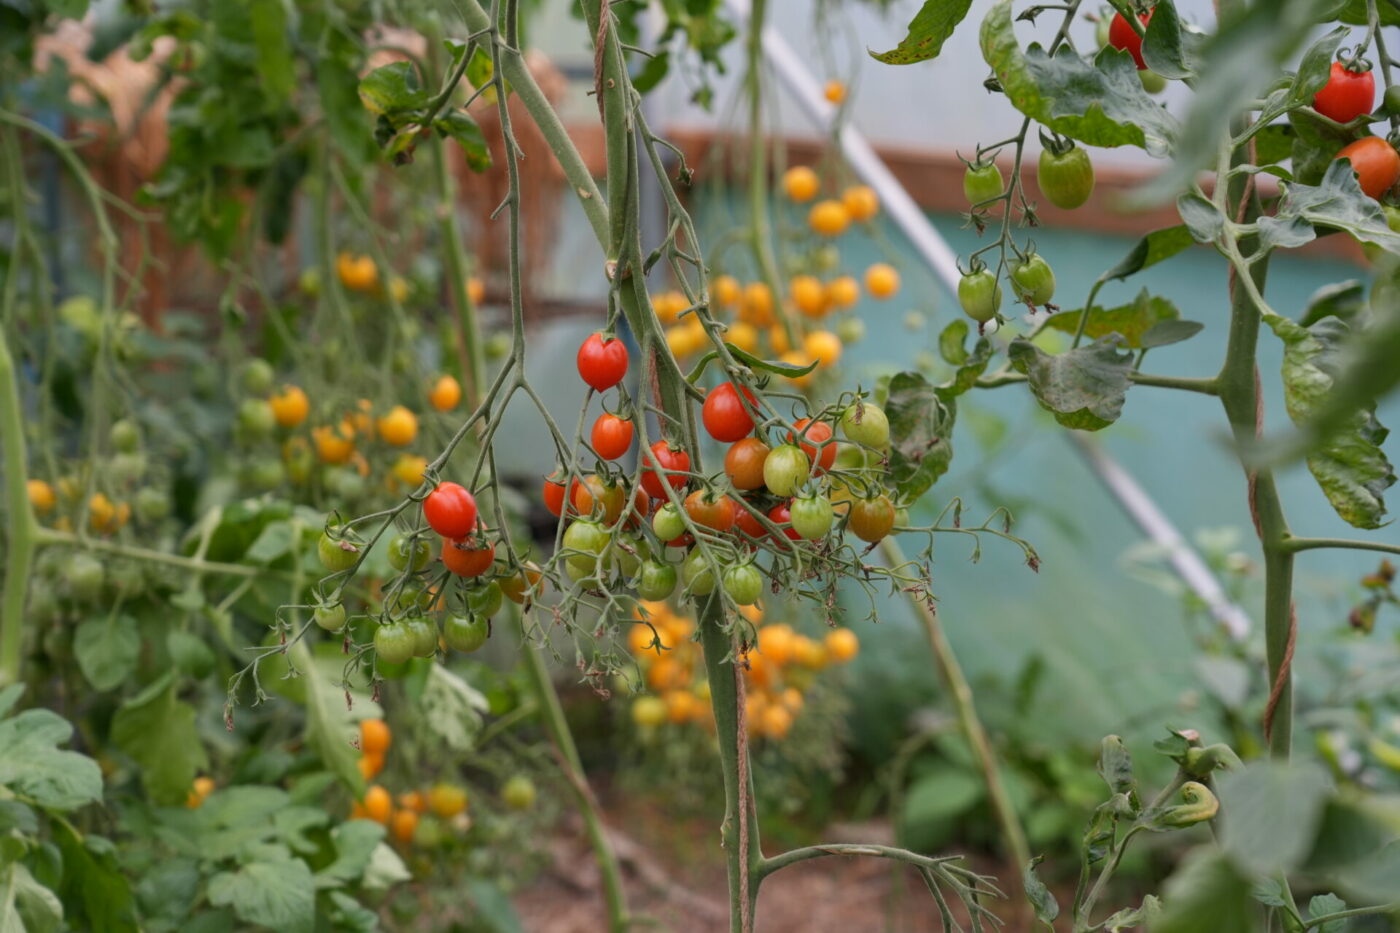
After a week or two in the ground, as long as the plants are displaying visible growth (which they will be unless the weather has turned cold again) start feeding them with a liquid feed. I use a liquid organic tomato feed which I add to the water once a week on Friday, which is easy to remember as “Fertiliser Friday.” Once tomatoes start forming in the heat of summer, you might decide to increase this to twice a week depending on how fast the plants are growing and how they look in general. But if they look green, healthy and are producing lots of tomatoes, once a week is fine. The nutrients in the compost you added and ground is often doing most of the heavy work.
8) Shade netting
If the weather turns incredibly hot and sunny over a long period, such as a week or more in the middle of summer, and temperatures outside go well above 25C, you might want to add a shade net over the top of the polytunnel to prevent it overheating.
Tomatoes will continue to crop well into autumn in a polytunnel providing an abundance of food.
Join my newsletter for more organic gardening ideas
Our polytunnel is by Premiere Polytunnels in Yorkshire, which for full transparency was gifted to us a few years ago (you can read about it here). I was not asked to write this article however.


